
안녕하세요? 이번 글은 도커(Docker)를 사용하여 '오픈드론맵(OpenDroneMap, ODM)'을 실행하는 과정을 정리해 보겠습니다. ODM 제품군 중 User Interface(사용자 인터페이스)를 제공하는 WebODM을 설치하는 내용입니다. WebODM은 Manual Install과 WebODM Installer로 구분되며 Manual Install은 Git, Python, Docker를 이용한 설치 방법을, WebODM Installer는 Standard($57.00)와 Business($147.00)를 구매하는 방법을 안내하고 있습니다.
참고로 저는 WebODM Installer도 구매했습니다. ODM을 사용해보시고 유익하셨다면, WebODM 구매를 통해 오픈소스 프로젝트에 재정적 기여를 하는 부분도 권해드려 봅니다. 이번 글은 Manual Install 과정을 정리해 보겠습니다.
Download WebODM - OpenDroneMap
In general, if your images are JPEGs or TIFFs, come from a stock drone and your computer is powerful enough, yes. The ability of WebODM to process a dataset relies mostly on the availability of sufficient memory to complete the task. If you have a recommen
www.opendronemap.org

참고로 윈도우용 WebODM Installer는 완전히 네이티브(fully native)이며 Docker를 사용하지 않습니다. 도커 컨테이너와 같은 외적인 지원 없이, 특정 하드웨어나 OS에서 그대로 실행되는 것을 네이티브라고 합니다.

이 글은 Windows 10 Pro를 기준으로 정리하였으나 ODM은 Windows, macOS, Linux 운영 체제를 모두 지원하며 실행은 도커(Docker) 사용을 권장하고 있습니다.
Installation and Getting Started — OpenDroneMap 2.4.7 documentation
We recommend people use docker for running ODM, whether you are on Windows, macOS or Linux. Linux OpenDroneMap can run on any Linux distribution that supports docker. According to docker’s documentation website the officially supported distributions are
docs.opendronemap.org
Windows에서 ODM을 실행하려면 최소한 Windows 7이 필요합니다. 이전 버전의 Windows는 지원되지 않습니다.
*이 글에서 소개하는 도커 'Docker Desktop for Windows'는 Microsoft Windows 10 Professional 또는 Enterprise 64-bit, 또는 WSL2가 있는 Windows 10 Home 64-bit에서 설치 가능합니다. 그 이유는 Windows 10의 Hyper-V(하이퍼-V)를 사용하기 때문입니다. Hyper-V를 사용하면 Windows에서 가상 머신으로 여러 운영 체제를 실행할 수 있습니다.
참고로, Windows 7에서는 Docker Toolbox를 설치하시면 됩니다:
https://github.com/docker/toolbox/releases/download/v18.09.3/DockerToolbox-18.09.3.exe
1단계. Check Virtualization Support(가상화 지원 확인)
도커(Docker)는 가상 머신(VM: virtual machine)을 실행할 수 있는 가상화(virtualization)라는 CPU 기능이 필요합니다.
'작업 관리자'를 실행한 후, '성능' 탭을 선택합니다.
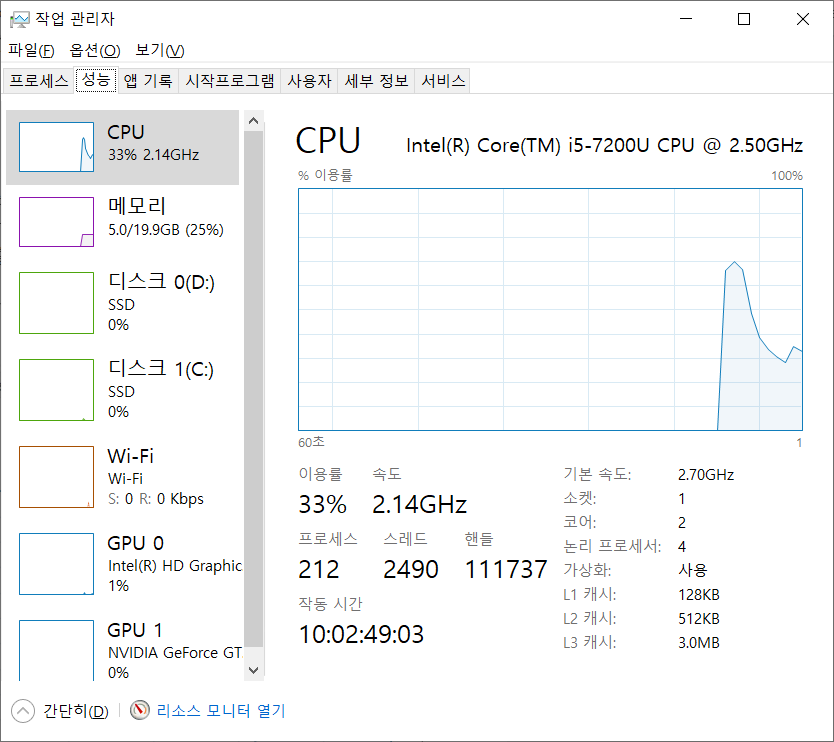
'가상화(Virtualization)'가 '사용(Enabled)'으로 활성화되어 있는지 확인합니다.

2단계. 설치 요구사항(Install Requirements)
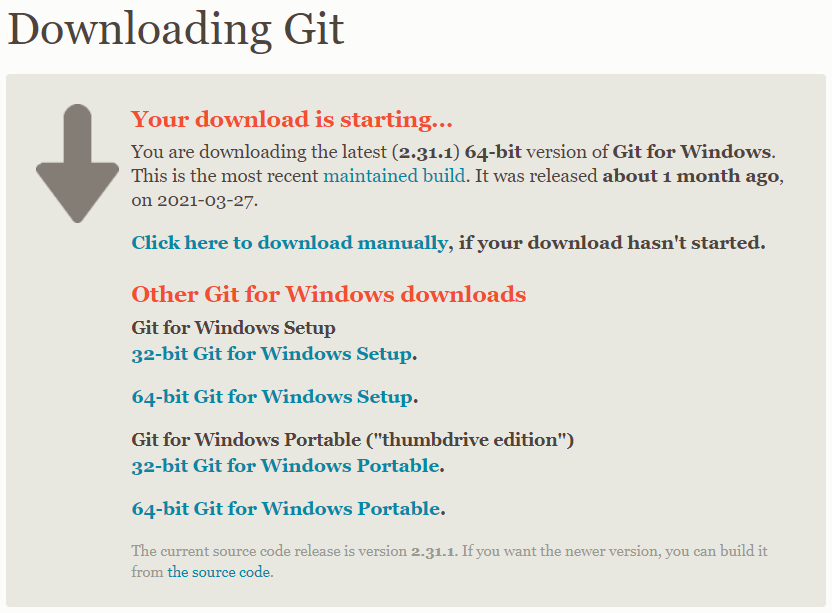
Git(깃)과 Python(파이썬)이 설치되어 있어야 합니다. 먼저, Git을 설치해 봅니다.
Git - Downloads
Downloads macOS Windows Linux/Unix Older releases are available and the Git source repository is on GitHub. GUI Clients Git comes with built-in GUI tools (git-gui, gitk), but there are several third-party tools for users looking for a platform-specific exp
git-scm.com
Git Downloads에서 'Windows'를 클릭하면, 다운로드가 자동 실행됩니다.

다운로드된 파일은 '64-bit Git for Windows Setup'입니다.
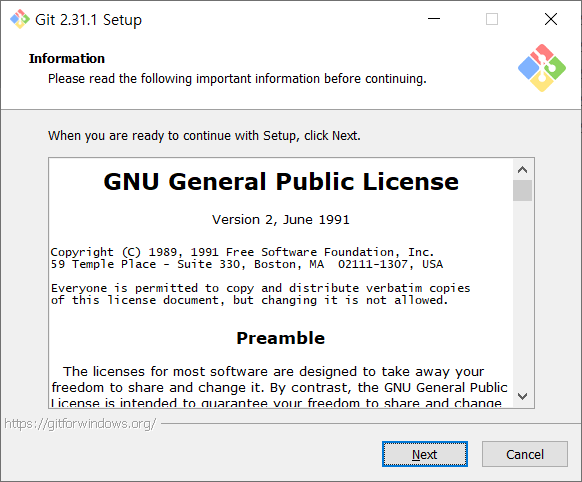
Git 설치를 진행합니다.
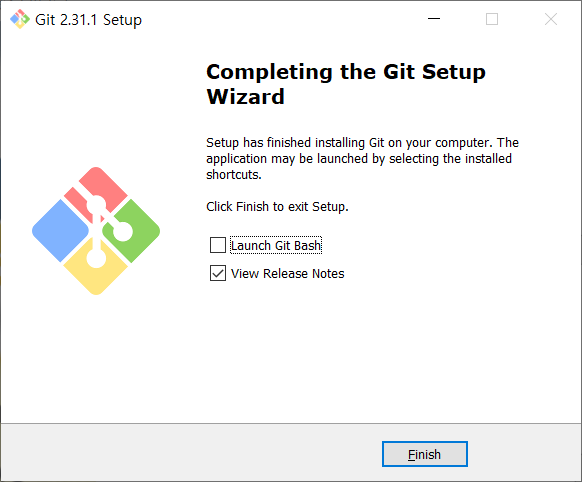
Git 설치가 완료되었습니다.
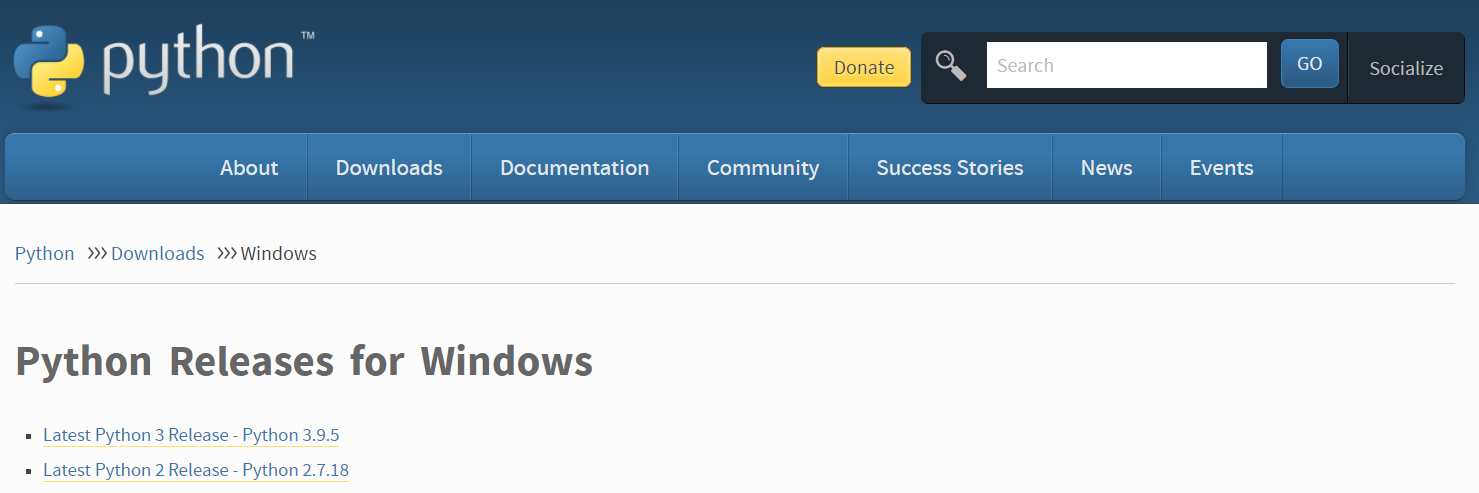
Python 3 최신 버전을 설치합니다.
Python Releases for Windows
The official home of the Python Programming Language
www.python.org
Latest Python 3 Release 중 'Stable Releases'를 내려받으시면 되겠습니다. 'Windows installer (64-bit)'를 선택합니다.

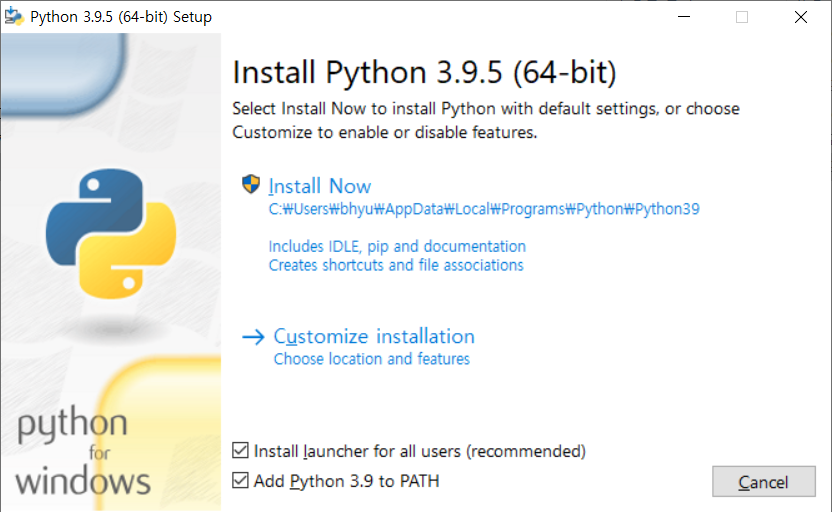
Python 설치를 진행합니다.

'Add Python 3.9 to PATH'를 체크한 후,

'Install Now'를 실행해 주시면 되겠습니다.
Git에 이어 Python도 설치 완료되었습니다.

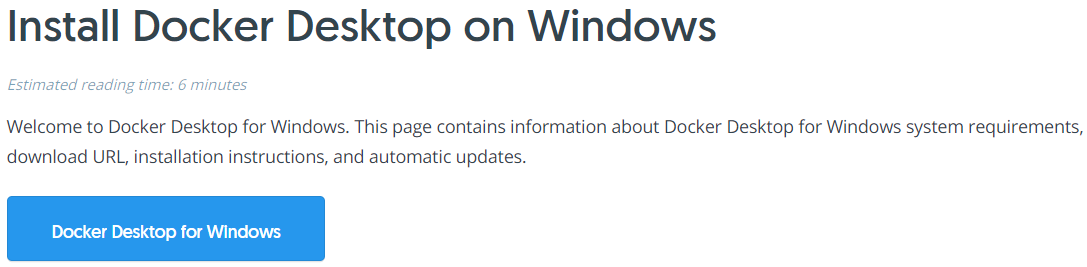
이제 'Docker Desktop on Windows'를 설치해 줍니다.
Install Docker Desktop on Windows
docs.docker.com
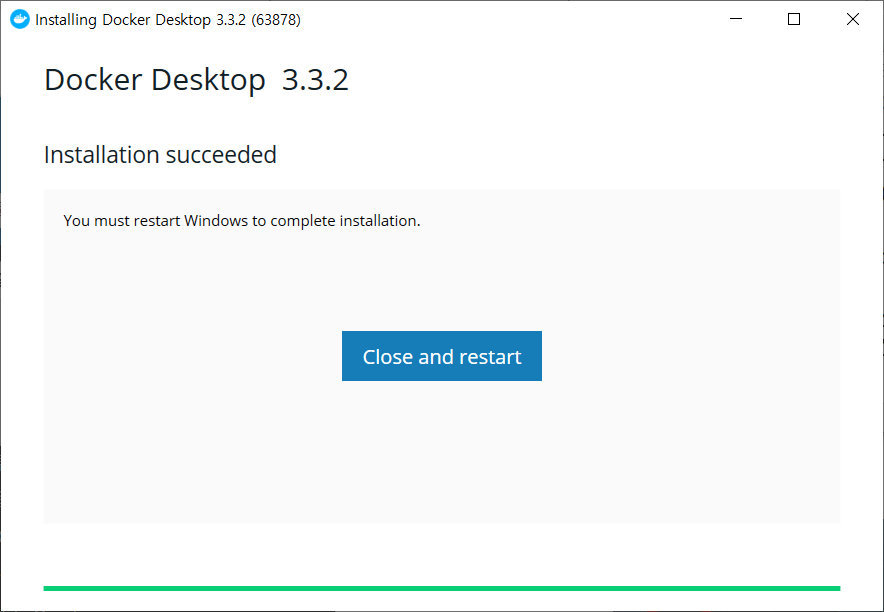
'Docker Desktop for Windows'를 클릭해서 파일을 내려받고 설치를 진행합니다.


'Close and restart'를 클릭해서 '다시 시작'을 진행합니다.
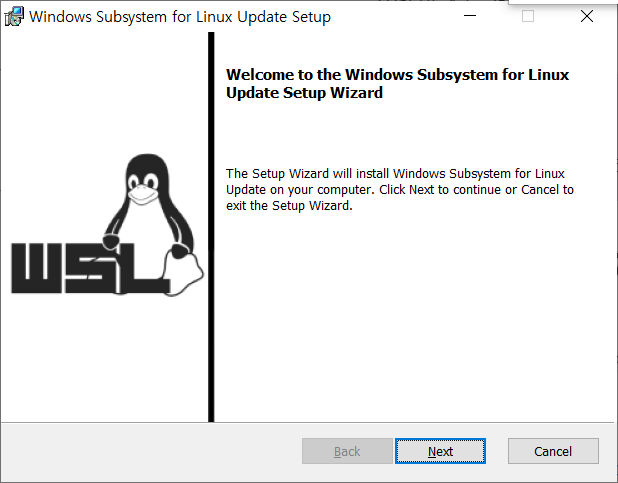
제 경우는 'WSL 2 installation is incomplete' 메시지를 경험했습니다. 링크를 클릭합니다.

'WSL2 Linux kernel update package for x64 machines'를 내려받아 설치합니다.
Install WSL on Windows 10
Learn how to install Linux distributions on your Windows 10 machine, with a Bash terminal, including Ubuntu, Debian, SUSE, Kali, Fedora, Pengwin, and Alpine.
docs.microsoft.com
설치 창은 아래와 같습니다.
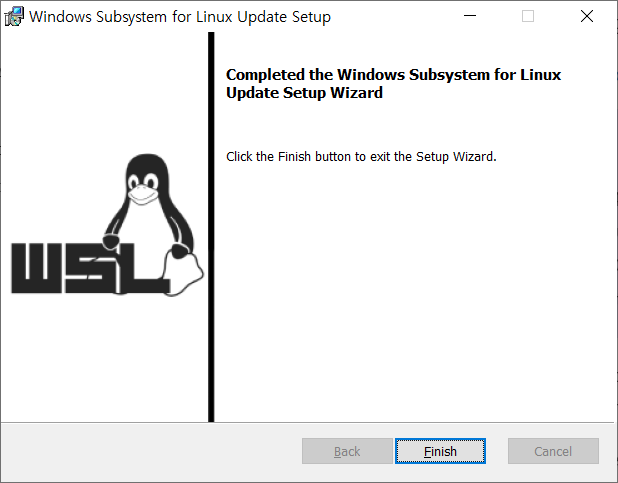
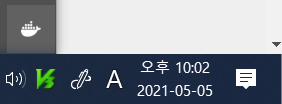
이제 'Restart' 버튼을 클릭하면, 트레이 아이콘에 아래와 같이 'while whale' 아이콘이 표시됩니다.
3단계. WebODM 다운로드(Download WebODM)
자, 이제 'Git > Git GUI'를 실행합니다.

Git Gui 창에서,

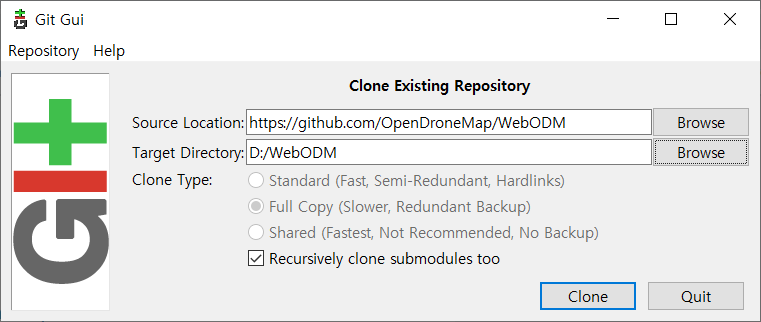
'Clone Existing Repository'를 클릭합니다.

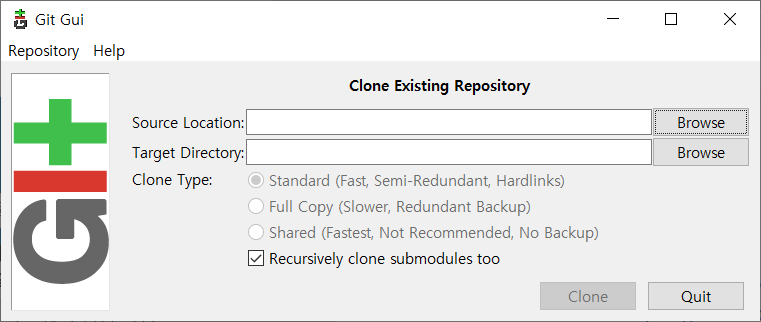
아래와 같이 설정하고 'Clone'을 실행합니다.
- Source Location: https://github.com/OpenDroneMap/WebODM
- Target Directory: D:/WebODM
다운로드가 완료되면 아래와 같은 창이 표시됩니다.

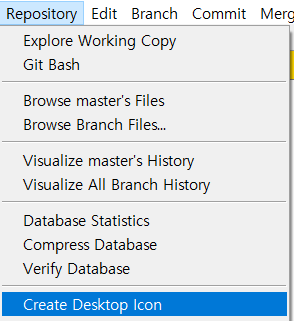
상단 메뉴 중 'Repository > Create Desktop Icon'을 실행하고 'Git WebODM.lnk' 파일을 바탕화면에 생성해 줍니다.
*설치 후에는 바로가기 아이콘을 더블클릭해서 해당 Git Bash를 바로 실행할 수 있습니다.
4단계. WebODM 실행(Launch WebODM)
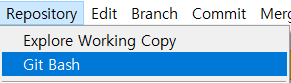
자, 이제 'Repository > Git Bash'를 실행합니다.
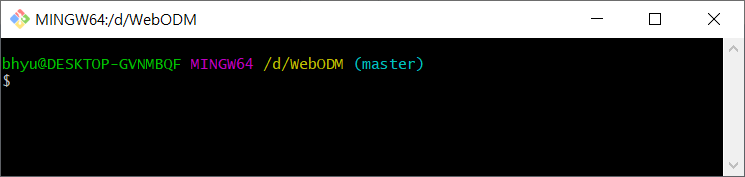
이제 아래 명령어를 입력해 주시면 WebODM, NodeODM, ODM 구성요소가 다운로드 됩니다.
./webodm.sh start&
다운로드 후 아래와 같은 화면이 나타납니다.
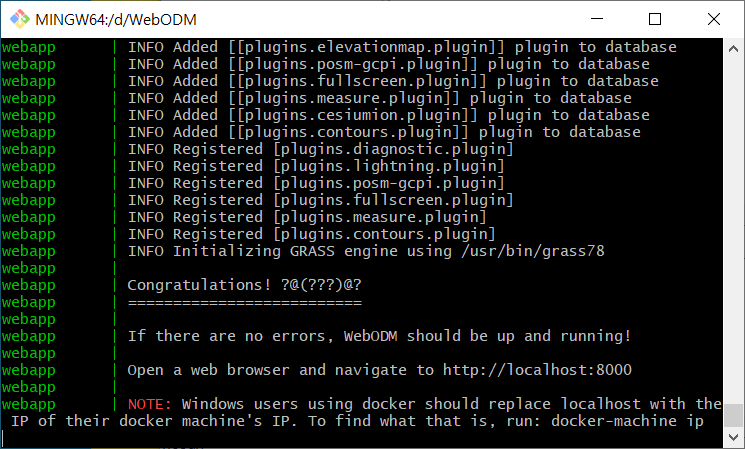
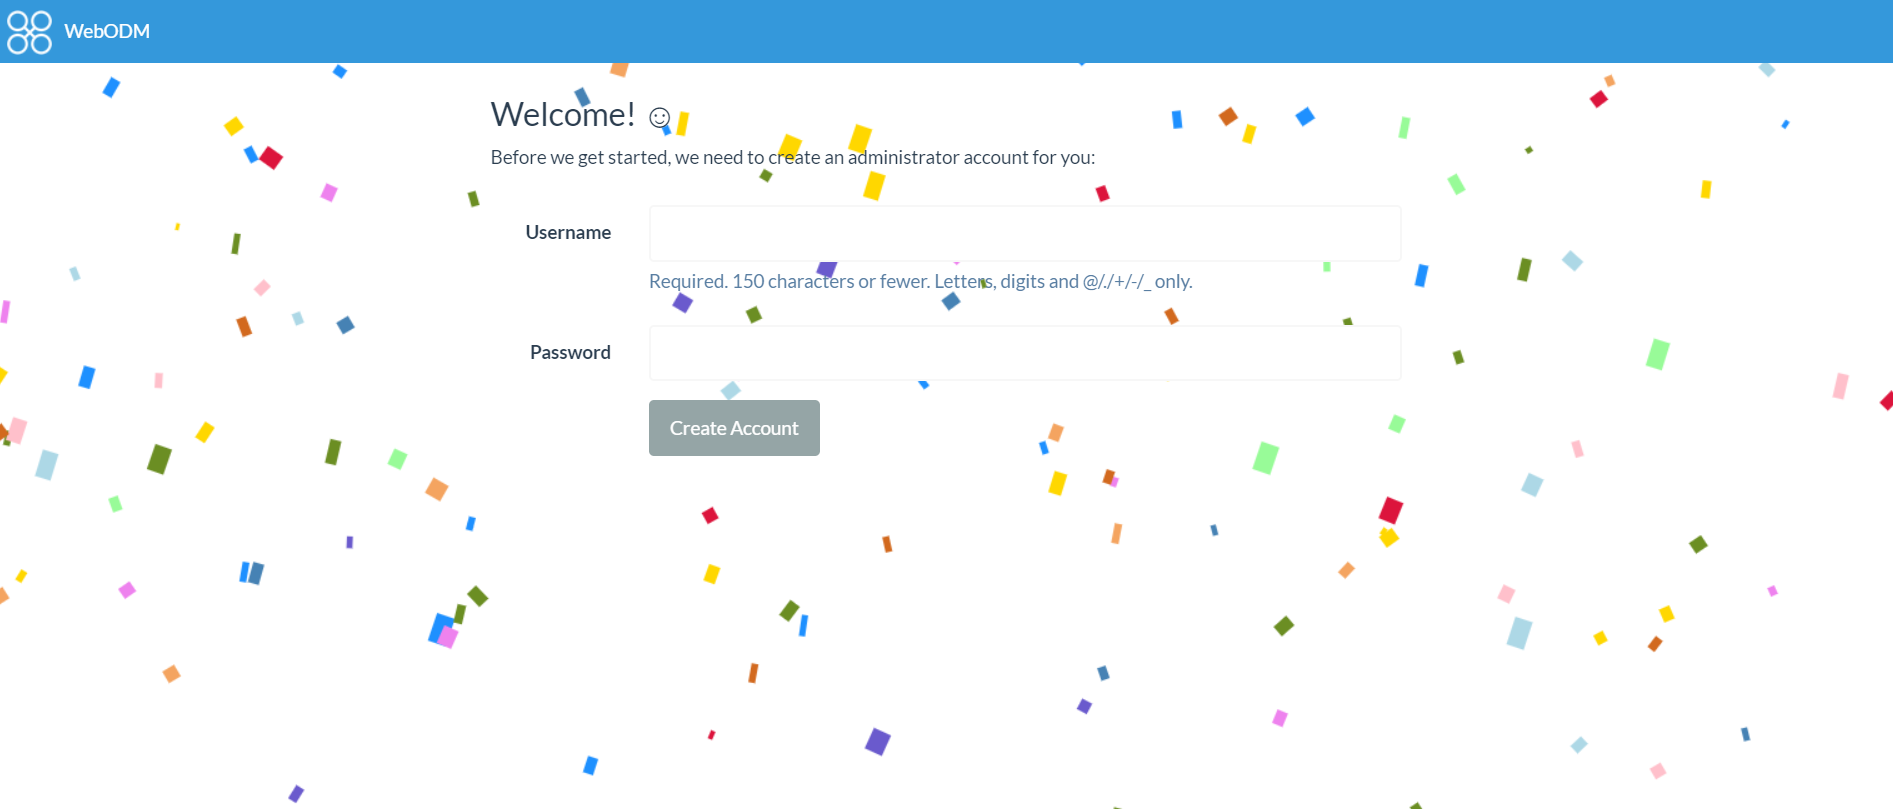
이제 http://localhost:8000로 접속하면 WebODM이 실행되는 것을 확인하실 수 있습니다.
트레이 아이콘 'white whale'을 우클릭한 후, 'Dashboard'를 클릭해 보면, webodm 컨테이너를 확인하실 수 있습니다.
